| Charles Gray has these comments about his imaging
setup and processing:
"Regarding the equipment that I'm using, I'm attaching
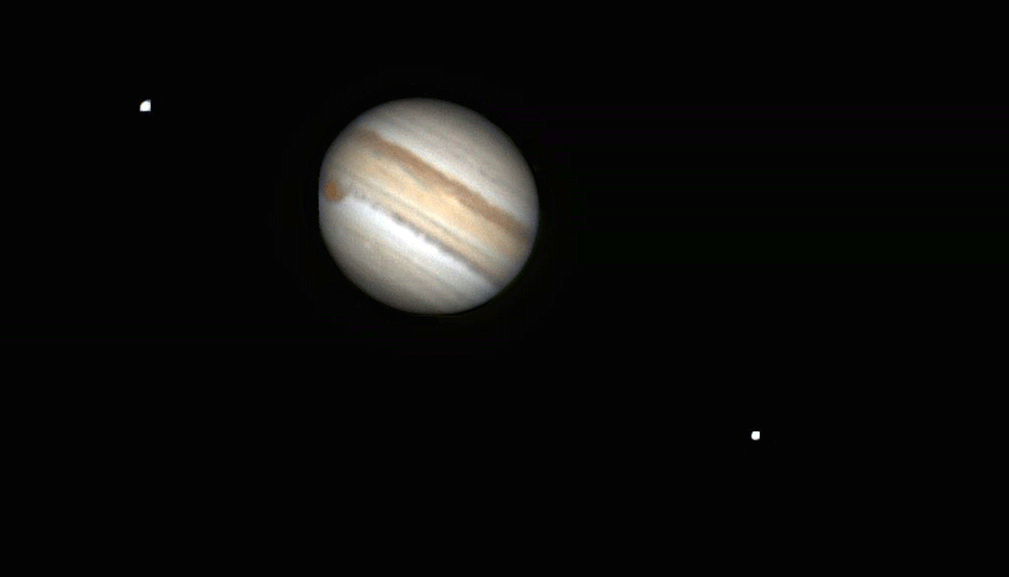
a photo of the camera, PowerMate, and focuser. The camera is
an Altair Astro 290C3-125 GP-CAM3. And for the latest Jupiter
and Saturn photos, I'm using a Tele Vue 2.5x PowerMate.
As for my process, I'm using the Altair Astro software that
I downloaded from their website to capture snapshots and video
files. The videos are stored as .SER files. I'm still experimenting
with the length of time for the videos. For the Jupiter images
taken the night of July 14-15, I captured videos of 1 minute,
1-1/2 minutes, and 2 minutes, with 1-1/2 minutes being the most
common.
And then I use AutoStakkert to analyze and stack each .SER
file into a TIFF image. It always amazes me how the stacking
software takes the thousands of fuzzy, noisy images in the video
frames and generates such a clear, sharp image. I know that's
what the software is supposed to do, but it's still pretty impressive.
Once I get the TIFF image from AutoStakkert, I use Photoshop
to further process it. For Jupiter, the process that I've found
that works the best (so far!) is as follows:
Use the Lasso Tool to select just the planet.
Use Auto Tone to get the colors to pop out.
Use Unsharp Mask to do the initial sharpening
Use Smart Sharpen to do additional sharpening, if necessary
Zoom in quite a bit to blow up the moons, which are only a few
pixels in size.
Use the Rectangular Marquee Tool to select one of the moons.
Use Auto Tone to brighten the moon and make it visible.
Repeat on each moon that is in the image.
Save as a new TIFF file.
Open the new TIFF file in IrfanView and save as a JPEG to get
it into a much smaller file size for sharing.
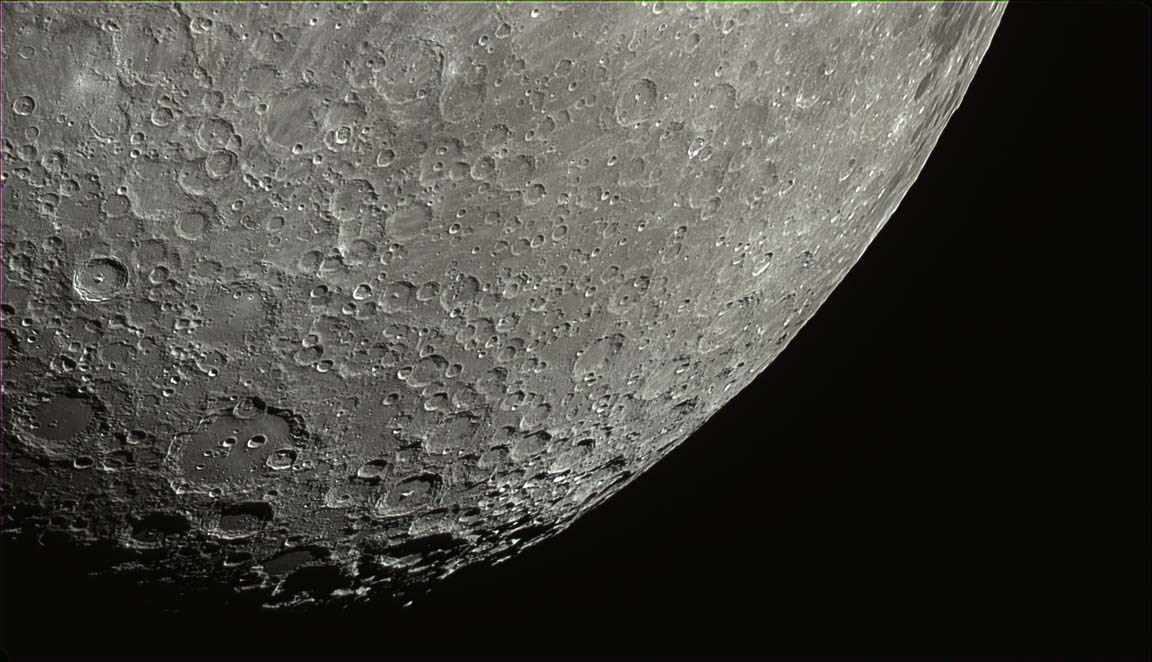
For the images of our moon, the Photoshop process that I'm
now using is very simple:
Use the Black and White adjustment to convert to b&w (this
is the best way that I've found to get rid of the green tint
from the TIFF file).
Use Auto Tone to make the image brighten up.
Use Auto Contrast (this usually has little to no effect, but
sometimes it sharpens the image a bit).
If I were better at Photoshop, I'm sure that I could do a better
job on these images. But I'm still experimenting with what gives
me the best results."
|